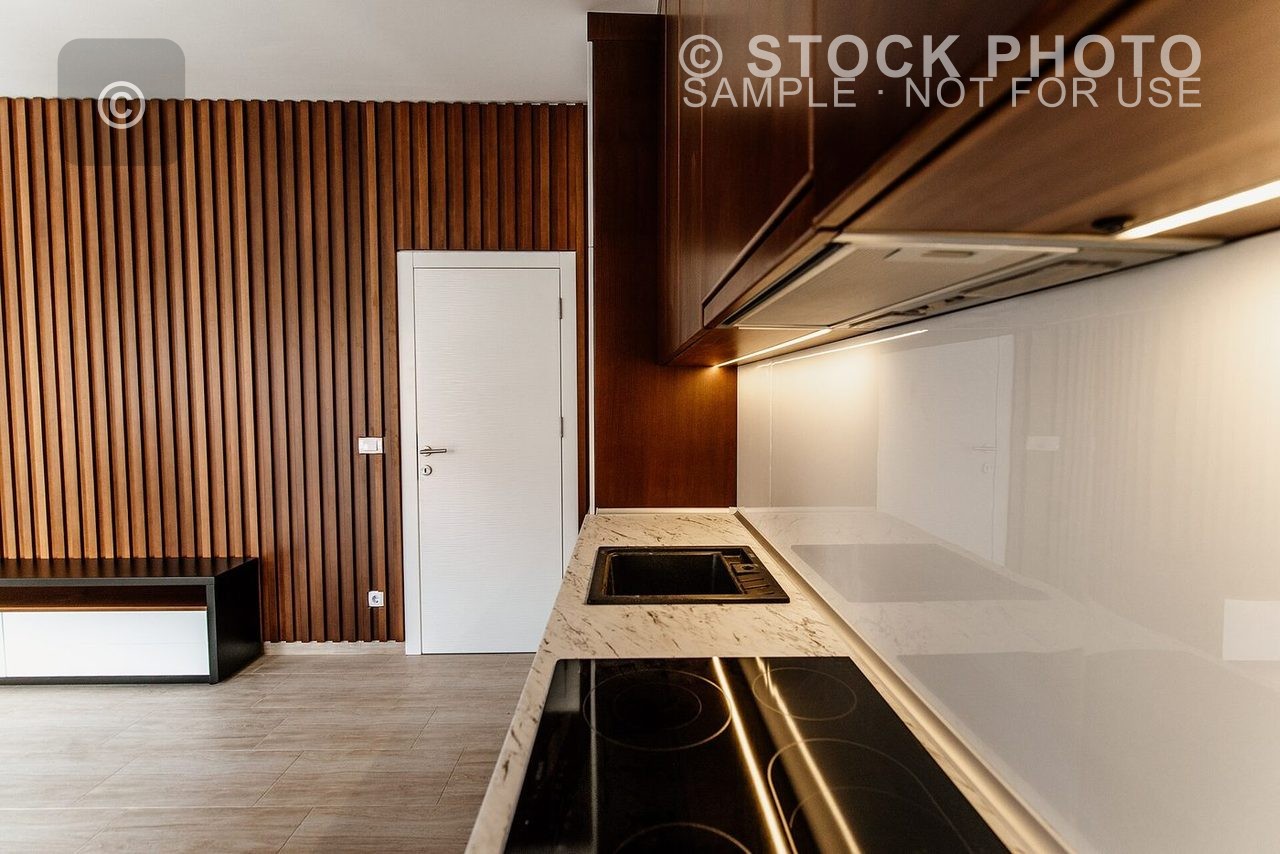
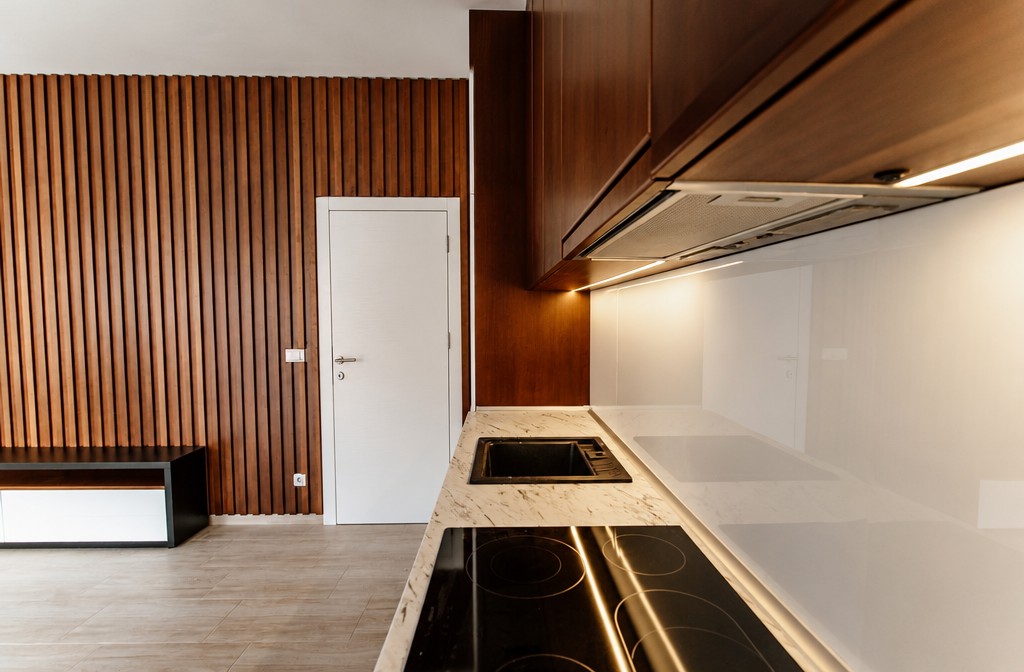
AI watermark removal · logo and watermark
The covered area is rebuilt from the surrounding texture
Remove watermarks, logos, stamps and captions from photos you own, then rebuild what was hidden underneath.
Switch to another tool — the current picture comes along.
See what each tool does before you start.
The covered area is rebuilt from the surrounding texture


Only the marked area changes; everything else stays
Watermark removal rebuilds an area instead of covering it, so the result looks like the original photo rather than a smooth smudge. The model repaints only what you mask, keeps the subject, framing and colour intact, and always returns a new file — your upload is never overwritten.
The model reads the texture, colour and lighting around the mark, then repaints the covered area from those pixels instead of blurring or smearing what was there. Flat, repeating surfaces such as sky, walls and fabric usually patch invisibly; on busy surfaces, zoom to 100% and check before you publish.
Only the pixels inside the mask are rebuilt. The subject, framing, colour and sharpness outside it are left exactly as they were, and the original upload is never overwritten, so you can compare the new image against the source side by side before you download it.
Yes. Stamps on scanned documents rebuild best at 300 dpi or higher, and watermarks or logo overlays on stock and product photos come out cleanly over flat backgrounds. Video, animated GIFs and PDF pages are not supported, so export a single frame or page as an image first.
Pick a photo, or start from one of the examples below.
Choose the options you need; the prompt can stay empty.
Check the result and download it when you are happy.
This focused page uses the same editing flow as the AI Image Editor.
Upload or import a relevant example
Upload a JPG, PNG, or WEBP file, or start with an example selected for this tool.
Choose AI Watermark Remover and refine the request
Use a preset for the current tool and add a specific instruction when needed.
Generate, compare, and continue editing
The result joins the version timeline so you can restore the original, use another tool, or export the active version.
This page also covers these common tasks and search intents.
Use it on photos you own or have permission to edit — your own product shots, scans of your own documents, photos from your own camera, or stock images you licensed. Do not use it to strip attribution from someone else's work: it rebuilds pixels, it does not transfer rights, and the upload is still their image.
Best results come when the watermark covers less than about a third of the frame, because the model rebuilds from the pixels around the mask. For a wide overlay, do it in two or three passes — each pass leaves more clean pixels for the next one to copy. Past half the frame, expect visible repair.
Upload an image, select the current tool, use a preset or add a specific instruction, and generate. The result joins the version timeline for continued editing or export.
Not always. Start with a preset, then add text only when you need a specific area, style, colour, material, or other detail.
Yes. A generated version becomes the active image, ready for object removal, text replacement, background changes, outpainting, or another edit.
The generate button shows the exact credit cost for the current task and foundation model before you confirm generation.
Browse every image tool, or start from a blank prompt in the AI Image Generator.