AI expand · keep the subject, grow the frame
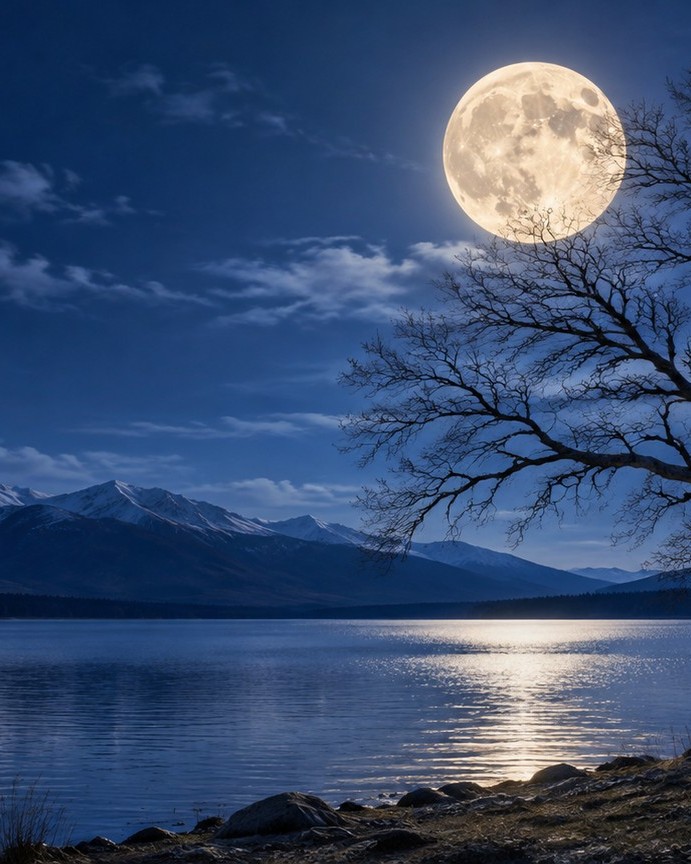
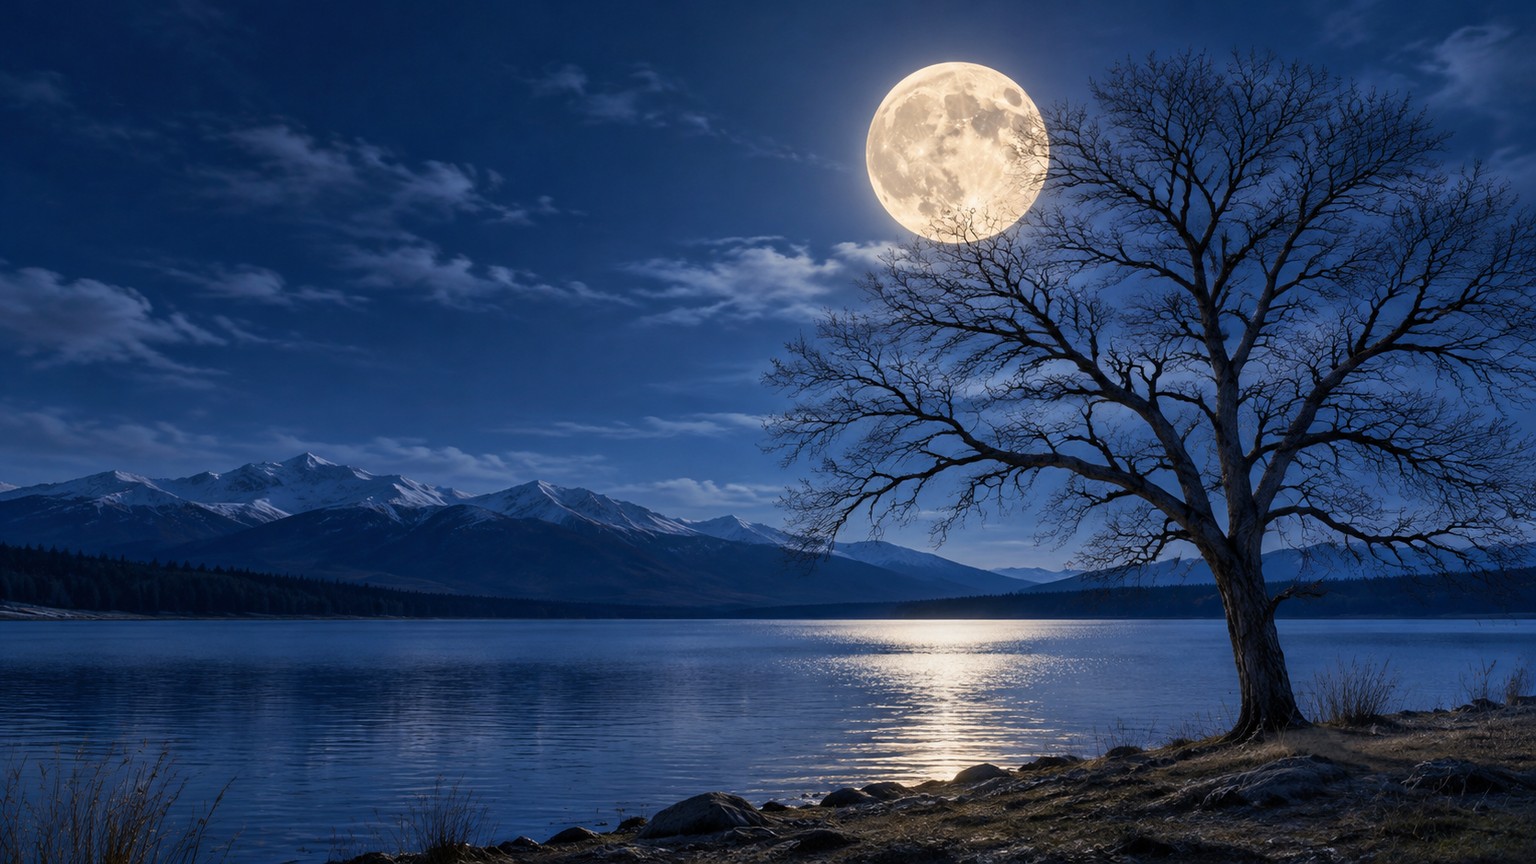
The moon and tree stay put; new sky and lake fill the wider frame
Extend a photo beyond its frame so a tight crop becomes a wider banner, a square post or a print with more headroom.
Switch to another tool — the current picture comes along.
See what each tool does before you start.
The moon and tree stay put; new sky and lake fill the wider frame
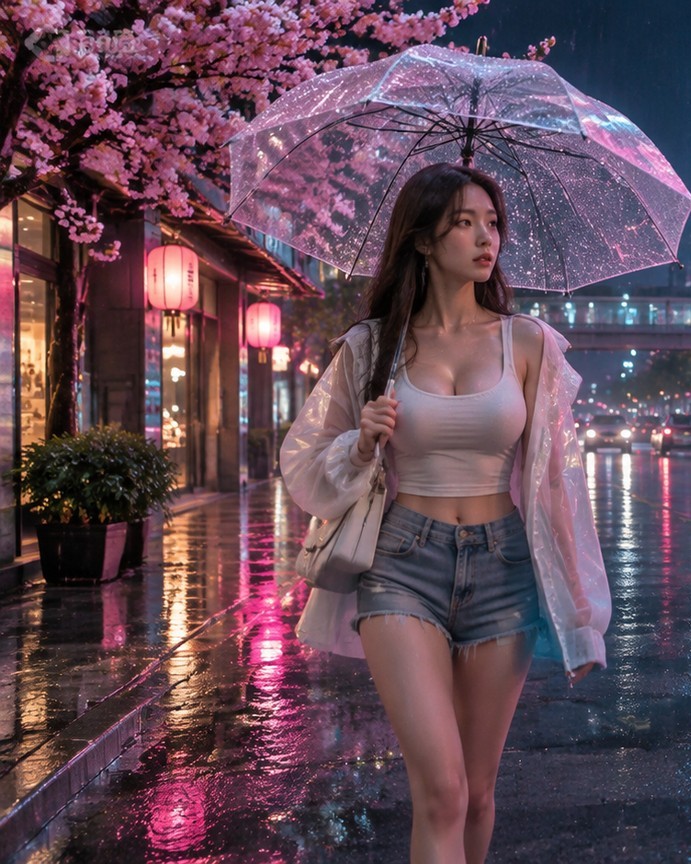
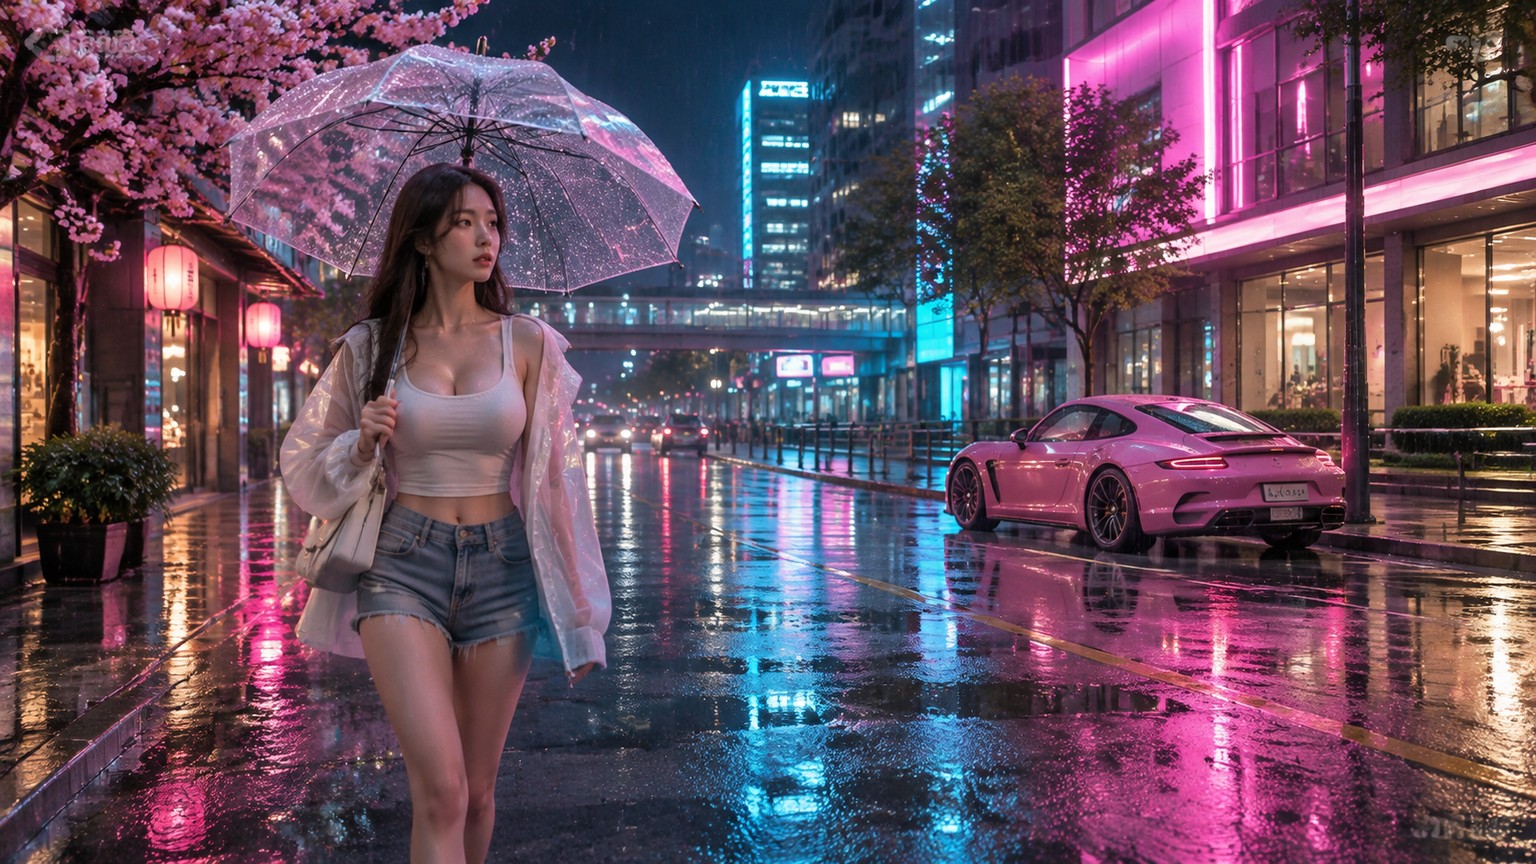
Neon lights and people stay the same while the frame widens
Expanding an image adds canvas outward from the existing edges; it never stretches or crops what you uploaded. The model continues the background, lighting and perspective so the new area reads as part of the same scene, and the subject stays exactly where it was.
Choose the ratio in the composer — 1:1, 4:3, 3:4, 16:9 or 21:9 — and it becomes the output canvas. The original pixels sit inside it at their own proportions and the remaining area is generated, so nothing is cropped, nothing is stretched and the original frame stays intact.
Generated. The model reads the pixels at the edge of your photo and continues texture, lighting, shadows and perspective outward, so the extension blends into the original instead of looking like a separate image pasted beside it. A horizon or a floor line stays level.
No. Your subject keeps its proportions, detail and position in the frame while the empty space around it is filled in. If the extended composition ends up off-centre afterwards, fix it with a crop rather than fighting the prompt for a perfectly centred subject.
Pick a photo, or start from one of the examples below.
Choose the options you need; the prompt can stay empty.
Check the result and download it when you are happy.
This focused page uses the same editing flow as the AI Image Editor.
Upload or import a relevant example
Upload a JPG, PNG, or WEBP file, or start with an example selected for this tool.
Choose Expand Image and refine the request
Use a preset for the current tool and add a specific instruction when needed.
Generate, compare, and continue editing
The result joins the version timeline so you can restore the original, use another tool, or export the active version.
This page also covers these common tasks and search intents.
Use the aspect ratio chips in the composer: 1:1, 4:3, 3:4, 16:9 or 21:9. Direction matters too — all sides grows evenly, top and bottom suits vertical social crops, and left and right suits banners. The selected ratio becomes the output canvas, with your original placed inside it.
Sky, walls and solid backdrops extend a long way because there is little structure to get wrong. Detailed edges — windows, text, crowds — stay convincing within about 20 to 30 percent of the original size; doubling the width usually drifts, so extend in two passes instead.
No. The existing area is kept as it is and new pixels are generated outside its edges, so the result is a separate, larger image. Your upload is never overwritten, which means you can compare the two side by side, or try a different ratio, without losing the original.
Upload an image, select the current tool, use a preset or add a specific instruction, and generate. The result joins the version timeline for continued editing or export.
Not always. Start with a preset, then add text only when you need a specific area, style, colour, material, or other detail.
Yes. A generated version becomes the active image, ready for object removal, text replacement, background changes, outpainting, or another edit.
Browse every image tool, or start from a blank prompt in the AI Image Generator.