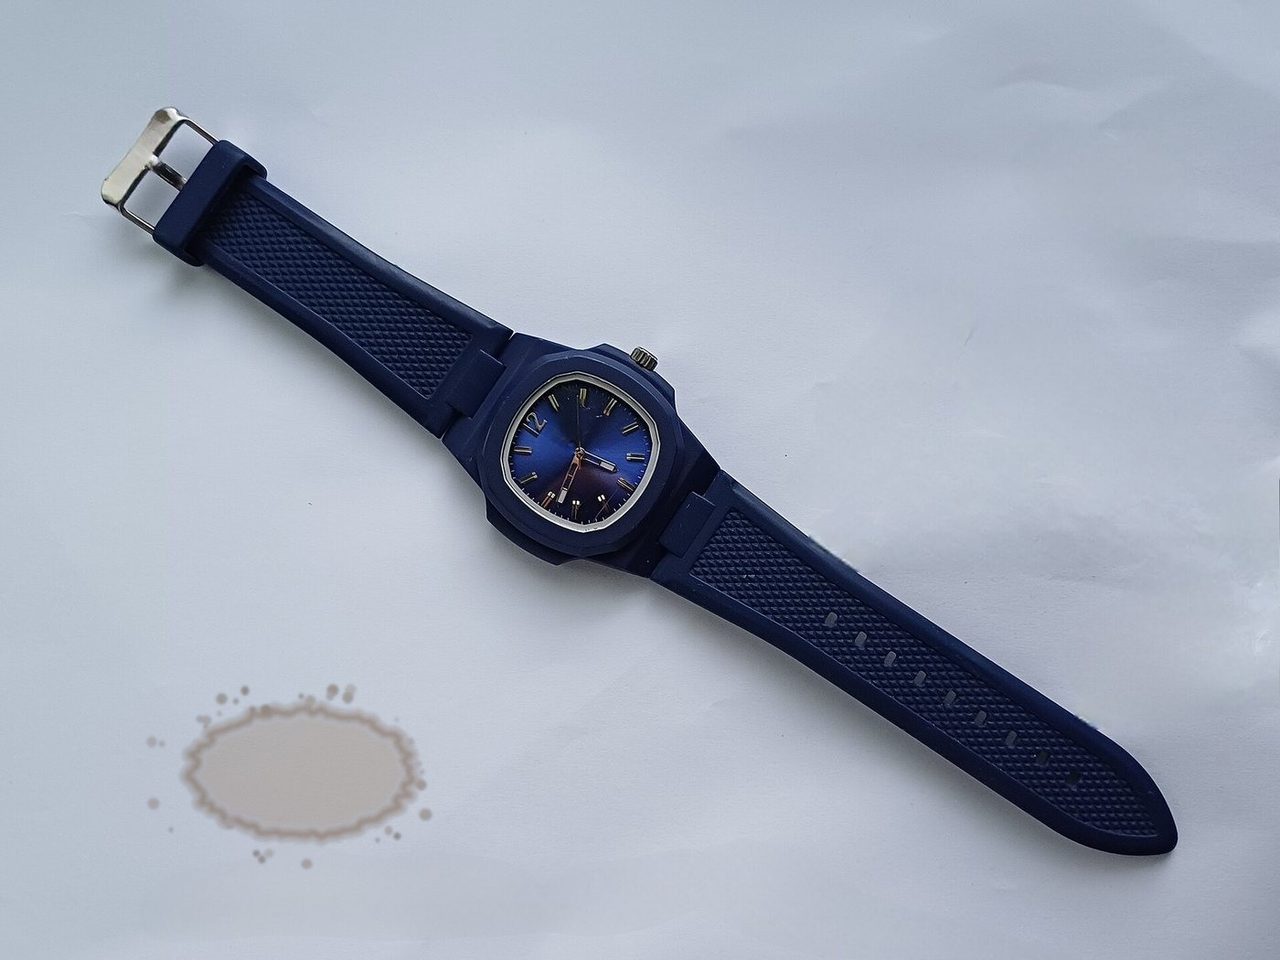
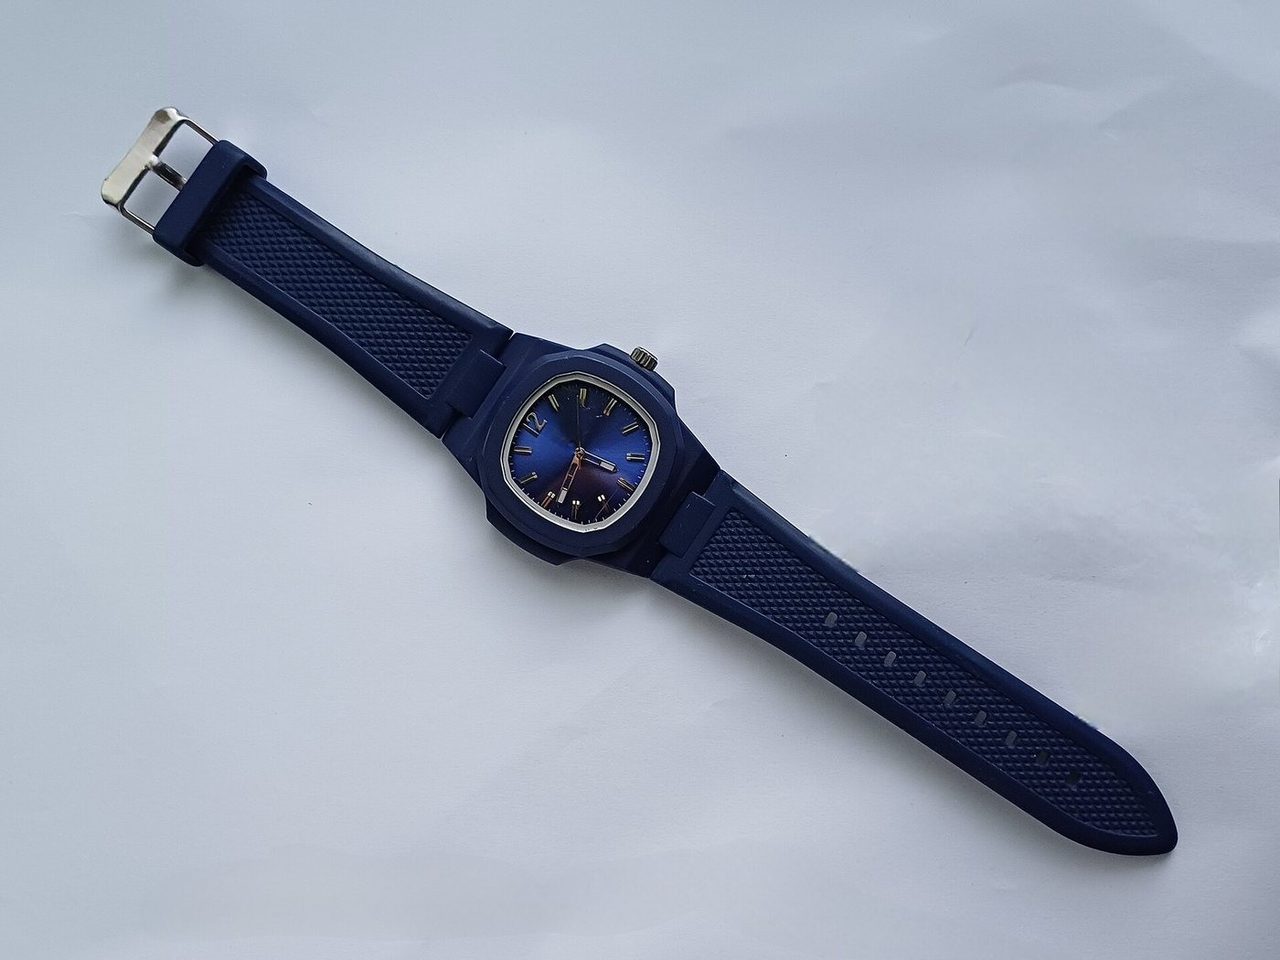
AI object removal · desk stain
Rebuilt from the paper texture and light, with no visible patch
Paint over clutter, stains, strangers or anything else you want gone and the model rebuilds the area behind it from the surrounding scene.
Switch to another tool — the current picture comes along.
See what each tool does before you start.
Rebuilt from the paper texture and light, with no visible patch
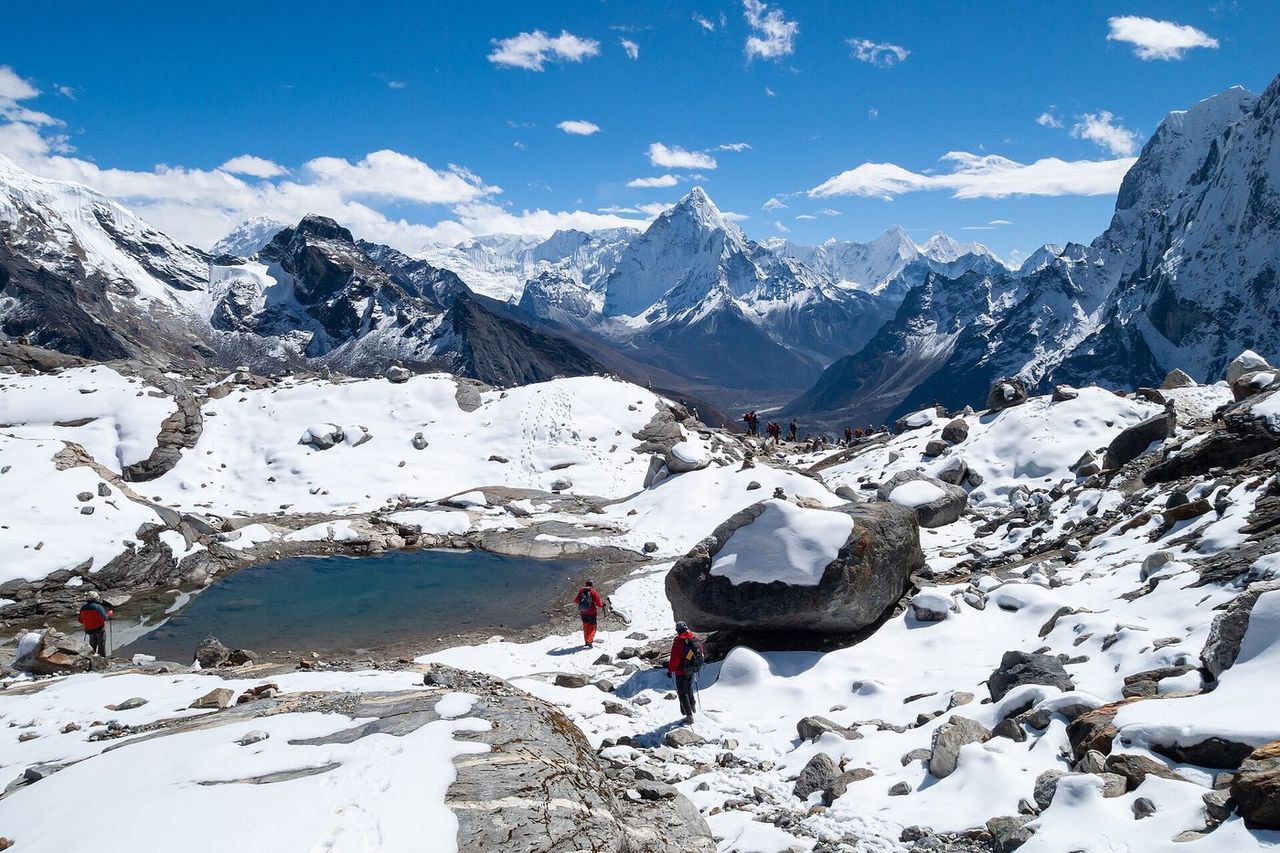
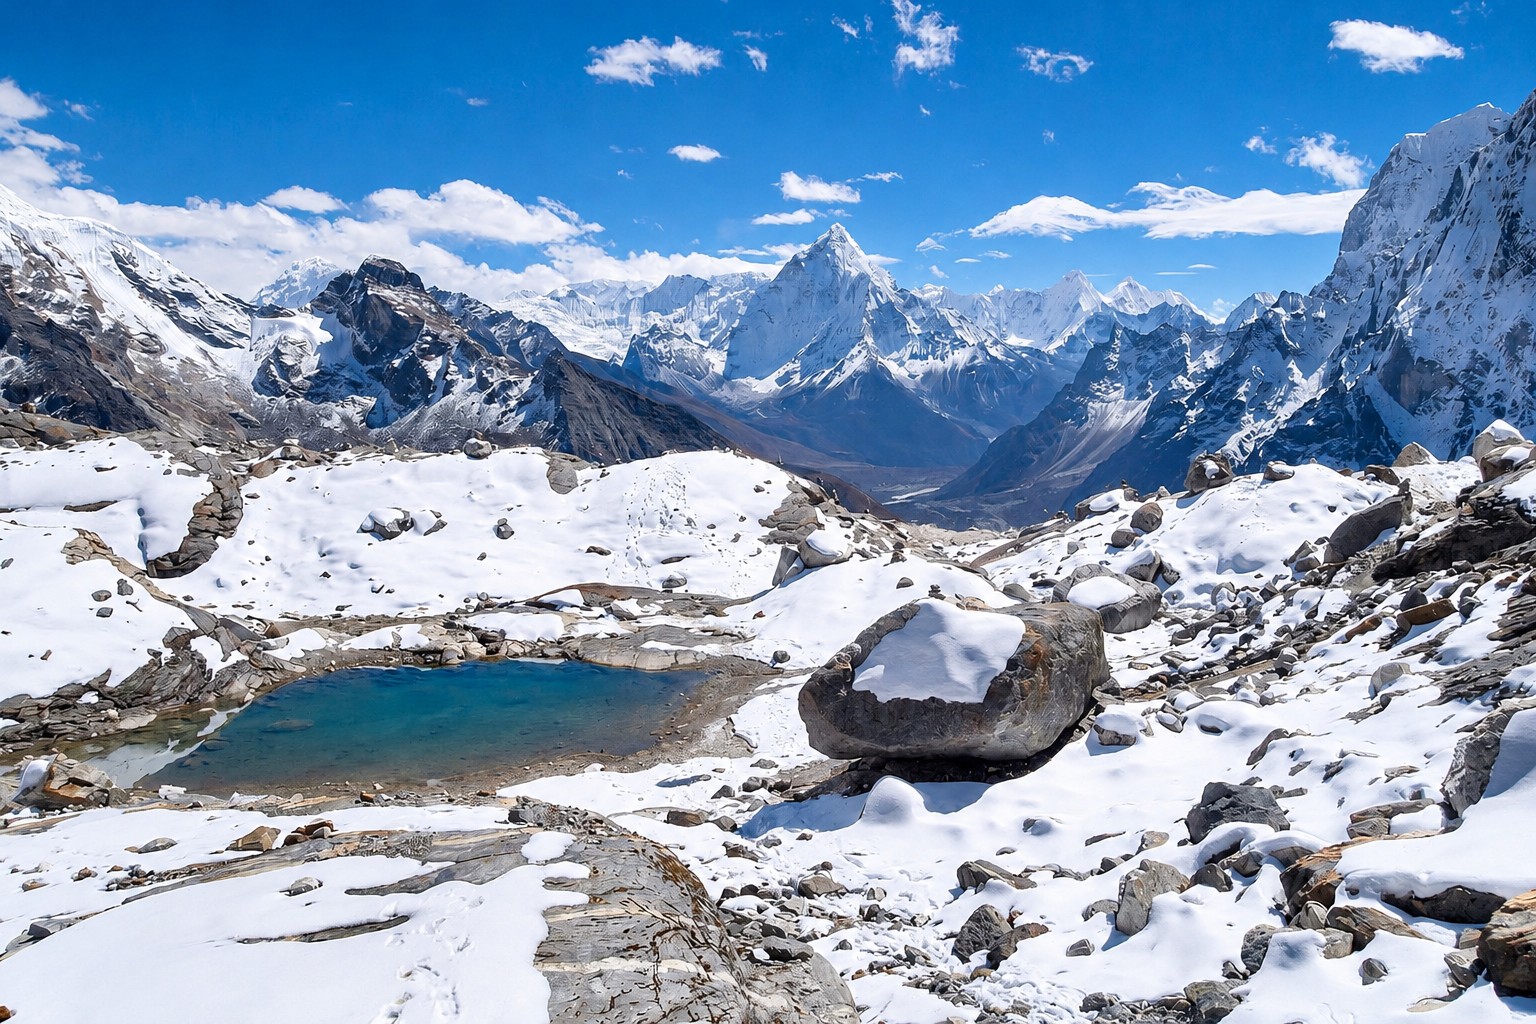
The people are rebuilt as snow and rock; the rest of the frame is untouched
Object removal paints the area out of existence rather than covering it: the model samples texture, colour and light from every side of your mask and reconstructs what should have been there. The rest of the frame — people, products, framing — is left exactly as it was.
The model samples texture, colour and lighting from every side of the mask and reconstructs the gap from those pixels, so the edge of the edit disappears. Flat surfaces patch almost invisibly; busy texture such as brick or grass may need a second pass to look natural.
Everything outside the mask: people, products, framing, colour and sharpness. Your upload is never overwritten either, so you can compare the result against the original, and rerun a smaller area with a tighter brush if one edge looks wrong. A good edit is invisible where you did not touch it.
Stains and spills, boxes and cables, passers-by in the background, signposts cutting through the frame. Anything covering up to about a quarter of the frame works well; past half, the model is guessing and the fill starts to smear instead of blending.
Pick a photo, or start from one of the examples below.
Choose the options you need; the prompt can stay empty.
Check the result and download it when you are happy.
This focused page uses the same editing flow as the AI Image Editor.
Upload or import a relevant example
Upload a JPG, PNG, or WEBP file, or start with an example selected for this tool.
Choose Remove Objects and refine the request
Use a preset for the current tool and add a specific instruction when needed.
Generate, compare, and continue editing
The result joins the version timeline so you can restore the original, use another tool, or export the active version.
This page also covers these common tasks and search intents.
Paint over what you want removed or replaced, and include any shadow or reflection it casts — a leftover shadow is the clearest sign something was taken out. The prompt is optional: leave it blank to rebuild the background from the surroundings, or describe what should appear there instead.
Usually not. The model rebuilds the masked area from the surrounding scene, so flat surfaces such as sky, walls and tarmac patch almost invisibly. If the area is large or the texture is complex, zoom to 100% and check the edges, then rerun the leftover strip with a smaller brush.
Yes. Ask for the background to be replaced, for example 'remove the background and place the subject on pure white'. For a transparent cut-out, generate the white-background version and convert it with the free converter tool, which runs in the browser and costs no credits.
Up to about a quarter of the frame is reliable, because the model needs surrounding pixels to copy. Past half the frame there is too little context and the fill starts to smear, so split the work into two or three passes — head and shoulders, torso, legs — or crop the photo instead.
You can mark several areas in one run, but separate passes are more accurate. Remove one object, compare the result, then brush the next: each pass leaves more clean pixels for the one after it, which matters most on busy textures such as brick, grass or crowds.
Upload an image, select the current tool, use a preset or add a specific instruction, and generate. The result joins the version timeline for continued editing or export.
Browse every image tool, or start from a blank prompt in the AI Image Generator.