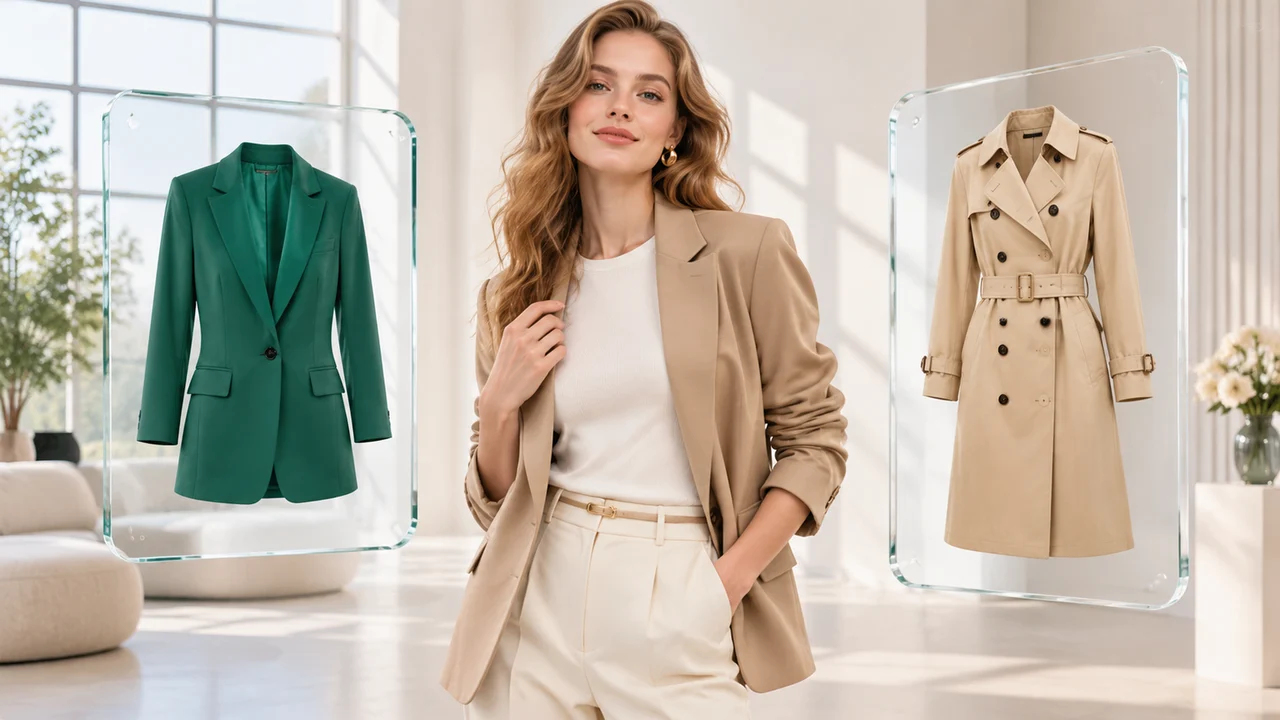
Shooting every new apparel SKU on live models across multiple sizes, colorways and seasonal backdrops is one of the highest recurring costs in fashion e-commerce. An AI clothes changer solves this when it can do two things simultaneously: keep the model’s exact face, body proportions and pose from the first image, and transfer the true cut, weave, pattern and collar structure of the garment from the second image.
Imagine AI’s AI Clothes Changer uses a dedicated two-slot virtual try-on workflow powered by Nano Banana Pro and Seedream 4. By separating the person reference from the garment reference, you avoid the common problem where a text prompt invents a completely different jacket or alters the model’s identity.
How the Two-Image Virtual Try-On Workflow Works
Unlike a single-image prompt that asks the AI to “change the shirt to a green blazer,” the Clothes Changer tool requires two distinct visual inputs before generating:
- Image Slot 1 (The Person): the model or portrait photo whose face, hairstyle, skin tone, hands, body shape, pose and background you want to preserve.
- Image Slot 2 (The Garment): a flat-lay, mannequin shot or catalog photo of the clothing item whose silhouette, fabric texture, buttons, stitching and color must transfer onto the person.
Because both references are explicitly assigned in the tool’s underlying instruction, the model does not confuse the garment photo for a second person or overwrite the original studio lighting.
Choosing the Best Person and Garment Reference Photos
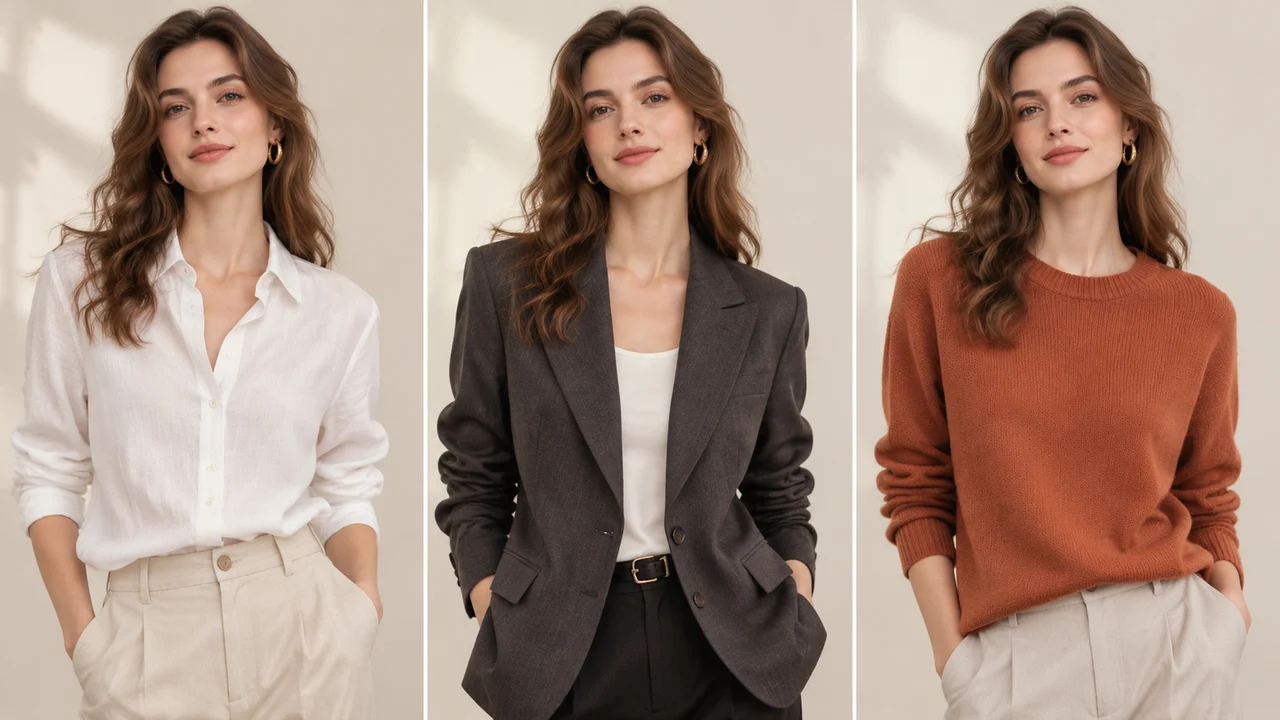
Your virtual try-on quality depends heavily on how clean the two input photos are:
Best Practices for the Person Photo (Slot 1)
- Clear posture and unobstructed torso: choose a front or three-quarter pose where arms or handbags are not hiding the entire chest and waist;
- Fitted or neutral base clothing: replacing a light t-shirt with a tailored blazer is much cleaner than replacing a bulky winter puffer coat with a sleeveless top;
- Good lighting on face and neck: this helps the model blend the new neckline and collar shadow naturally against the skin.
Best Practices for the Garment Photo (Slot 2)
- Flat-lay, ghost mannequin or clean catalog cut: make sure the full garment silhouette—sleeves, hem, lapels and closures—is visible;
- True-to-life color and fabric grain: avoid heavily shadowed phone snapshots; if your garment photo has a cluttered background, clean it first in the (see our ).
Writing Optional Try-On Instructions for Fit, Layering and Styling
While the works out of the box with just your two uploaded images, adding a short styling note in the optional instruction box gives you fine control over how the garment is worn:
1. Tailored Outerwear Over a Base Layer
Dress the person from the first image in the emerald double-breasted blazer from the second image, worn open over a crisp white crew-neck tee. Preserve the model’s face, wavy hair, hands-in-pockets pose and daylight studio background. Keep the blazer’s lapel width, gold buttons and wool drape exact.
2. Full Outfit Replacement with Tuck and Sleeve Control
Replace the current top with the striped linen shirt from the second image, tucked neatly into the existing cream trousers with the sleeves rolled once at the forearm. Keep the person’s identity, skin tone, lighting and background unchanged.
3. Knitwear and Texture Preservation
Fit the ribbed terracotta sweater from the second image naturally onto the person in the first image. Preserve the visible knit weave, crew neckline and relaxed shoulder drop. Do not change the model’s face, earrings, hairstyle or camera framing.
For deeper multi-image prompting techniques, check our .
Expanding a Single Garment Shoot into a Full E-Commerce Campaign
Once you have a clean virtual try-on result, you can chain other tools in the and video workspaces to build a complete product page:
- Adjust hair, makeup or accessories: send the try-on image to the to test glasses, jewelry or hairstyle variations while keeping the outfit locked.
- Clean up background tags or studio stands: use the to erase C-stands, floor tape or stray threads (see our ).
- Turn the lookbook photo into a motion reel: upload the finished try-on portrait into or to animate a 5-second runway turn or fabric movement clip for social ads.
- Compress for fast storefront loading: run the final catalog exports through the free browser-based and utilities to ship lightweight WebP assets.
Quality Checklist Before Publishing Virtual Try-On Catalog Images
Always inspect four details before pushing AI apparel visuals to a live store:
- Garment accuracy: count the buttons, check pocket placement, and verify that seam lines and hem length match the real physical product;
- Neckline and wrist transitions: make sure collar shadows and sleeve cuffs meet the skin naturally without floating edges;
- Pattern scale: check that stripes, plaids or floral prints did not stretch disproportionately across the shoulders;
- Hands and fingers: if the model’s hands rest in pockets or touch lapels, confirm that finger placement stayed clean.
Try the two-image workflow now in the , or compare all editing models in the .
